Paneer is one of the most important sources of proteins for vegetarians due to its high bioavailability. You can either buy packaged paneer or make them at home. But when it comes to taste, freshness, and texture, homemade paneer fairs a lot better than store-bought ones.
Fortunately, making paneer at home is a fairly simple task. All you need is milk and a source of acid coagulators like lime, vinegar, lactic acid, or citric acid.
First, let us take a look at the science behind making paneer. Then, we look deeper into the effect of using different types of milk and acidic coagulators and identify the best method to use. For this article, we make paneer using both cow’s milk and buffalo milk to understand the difference in taste and texture between the two.
Science of Making Paneer
Paneer is made by heat and acidic coagulation of milk. Essentially, when you add an acidic coagulator to hot milk, the milk curdles forming large clumps of casein proteins. Fat and other colloidal and dissolved solids get entrapped in these clumps. The greenish-yellow water left after this process is whey.

How To Make Paneer At Home?
Time needed: 1 hour and 30 minutes
Let us take a look at the step-by-step instructions on how to make paneer at home. Ideally, use fresh buffalo milk to make paneer as it has higher fat content, resulting in a firm and spongy texture. Cow milk is said to produce paneer with an inferior texture.
Here, we have used 500 buffalo milk and 20 ml of lime juice for making paneer. If you are using cow milk, you need to add just 15 ml of lime juice. Alternatively, you can use buttermilk, which is said to give the highest paneer yield among different coagulators.
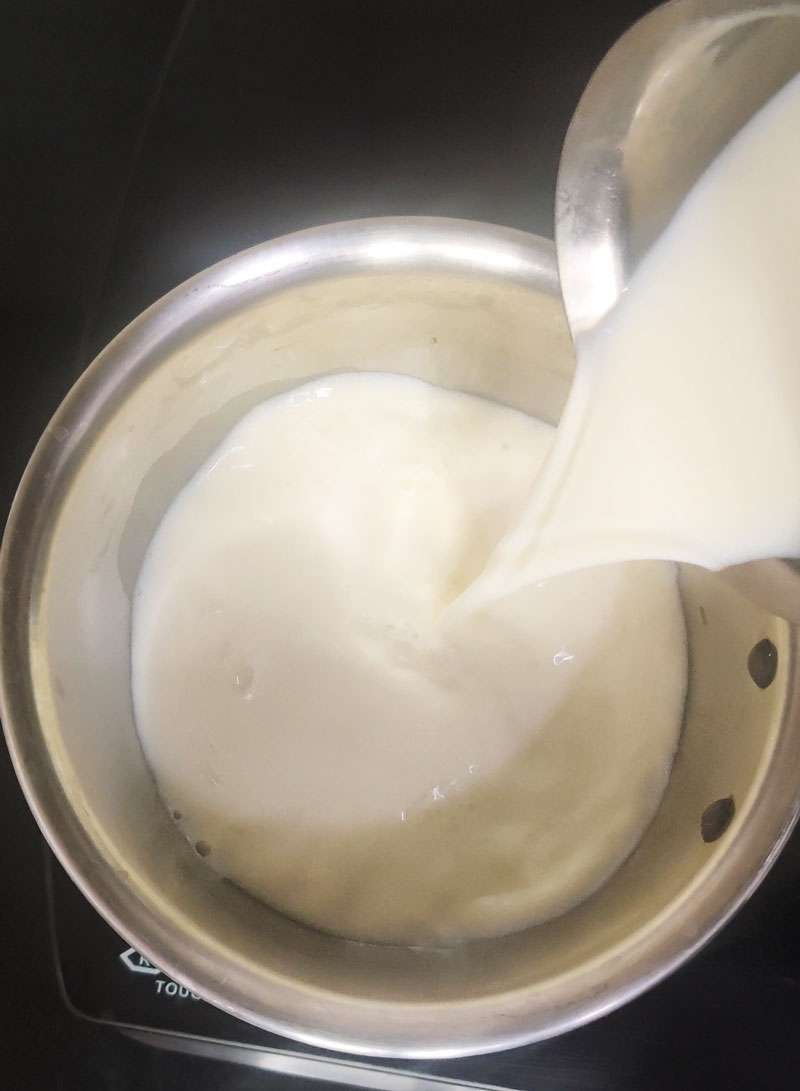
- Pour Milk Into A Saucepan
Clean the milk packet in running water and pour the milk into a saucepan. Do not add water to the milk. Also, avoid using spoilt milk as it may impart a sour taste to the paneer.

- Heat Milk
One of the most important steps in making paneer is heating the milk to the right temperature. This affects the overall yield of milk. If you have a cooking thermometer, heat the milk to 90 °C and maintain the temperature for 10-15 minutes. If you don’t, heat the milk on a small or medium burner to the point it just starts boiling. Then, reduce the flame and simmer the milk stirring continuously in between.
Ensure that you stir throughout the heating process so that milk doesn’t form cream on the surface.
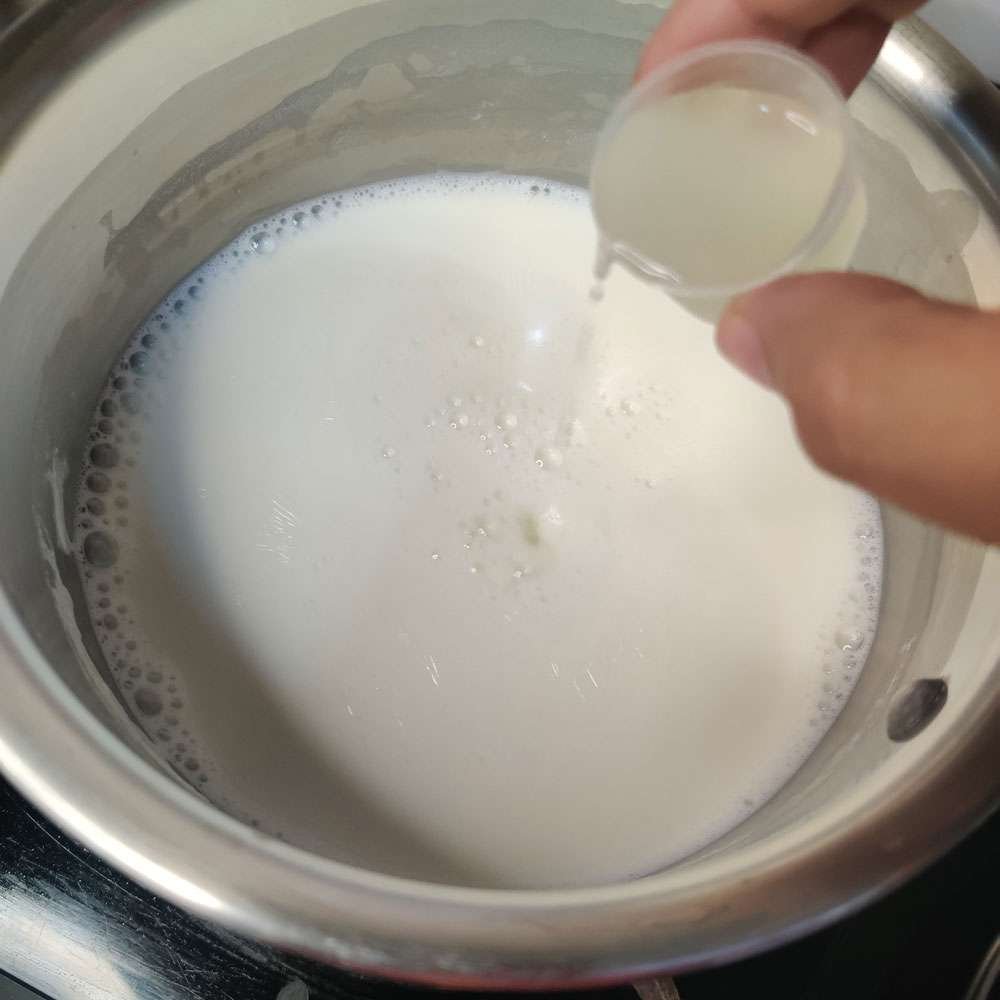
- Add Lime Juice
After heating the milk for 15 minutes, switch off the flame. Let it cool for 30-60 seconds. Then, pour lime juice into it. Keep stirring as you pour the lime juice. If you are using buffalo milk, pour 20 ml for every half litre. If on the other hand, you are using cow milk, pour 15 ml for every half litre.
- Stir and Rest
After pouring lime juice, stir the milk thoroughly. Milk starts curdling immediately. Allow it to rest for 5 minutes.
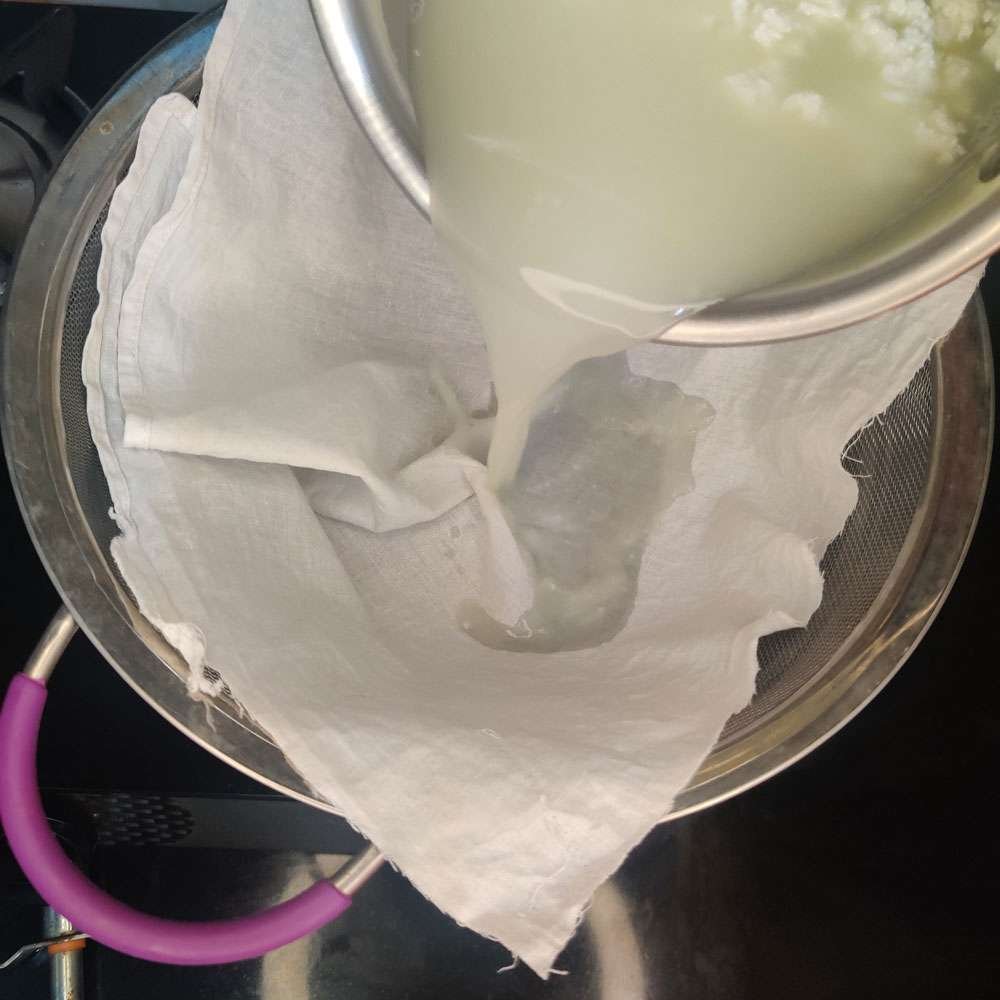
- Drain The Whey From The Curd
Keep a cheesecloth/ muslin cloth on a sieve and pour the curdled mixture into it to separate the curd from the whey.
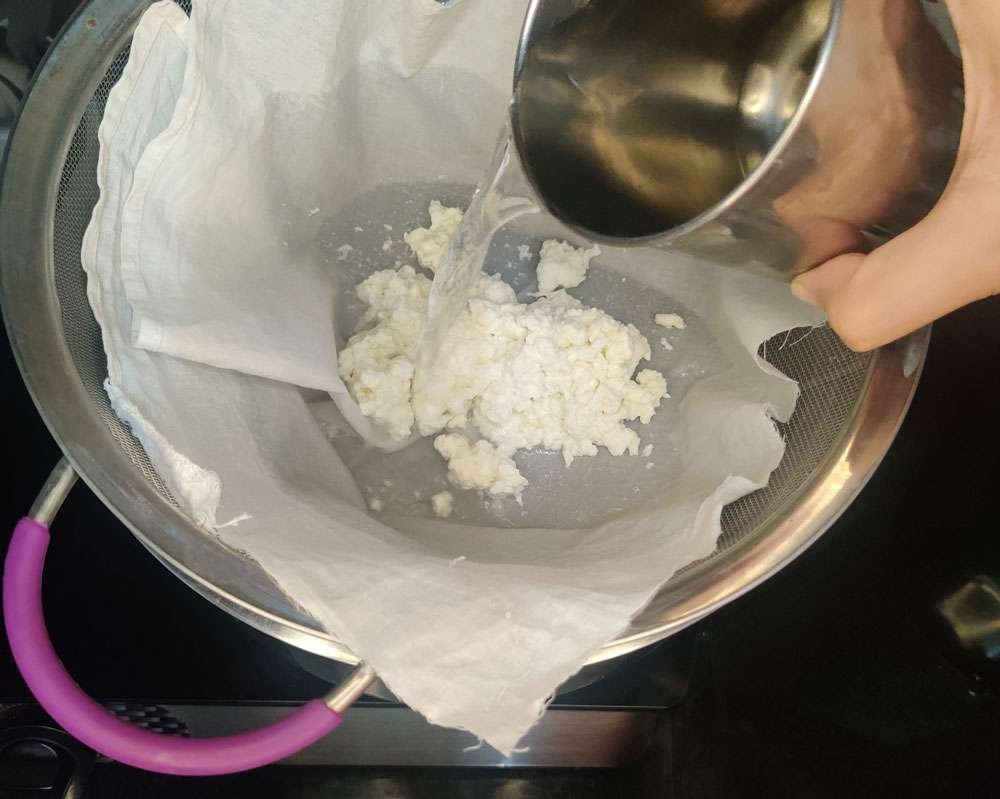
- Wash The Curd
Paneer may become sour as lime juice is used for curdling the milk. So, to prevent it, pour some water on the curd to remove any lime juice residue. You can omit this step if you are using buttermilk to coagulate the milk.

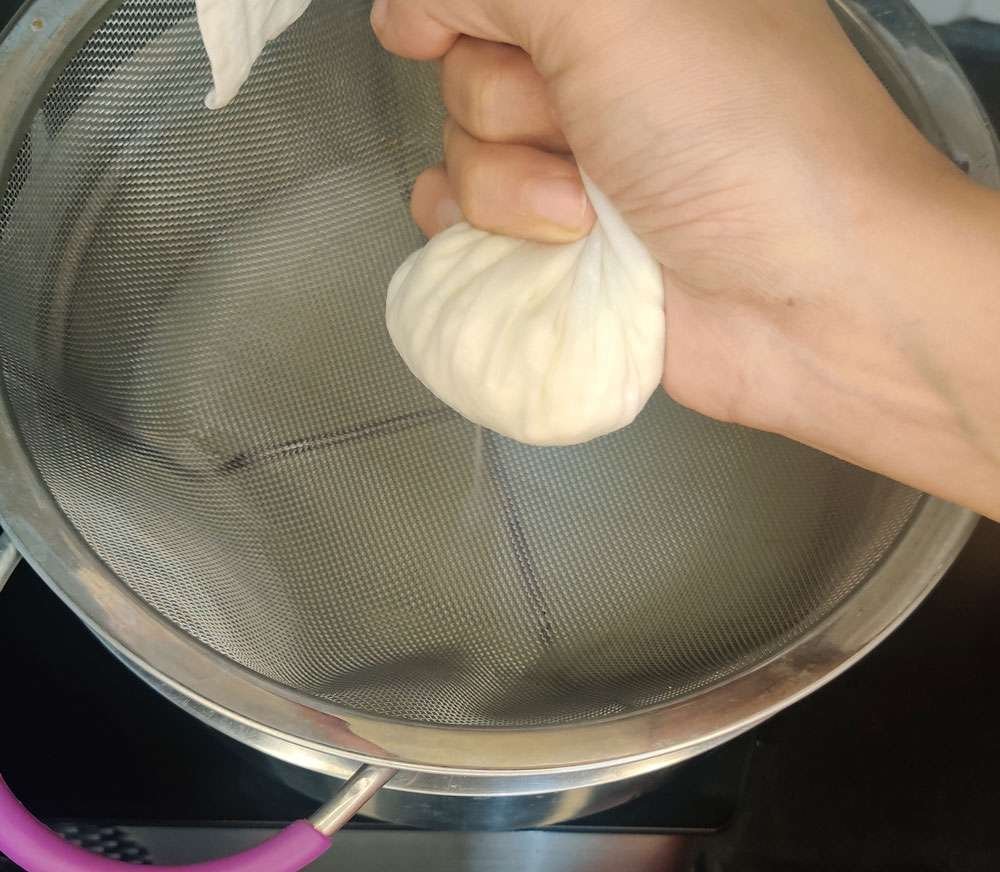
- Squeeze Excess Moisture
Squeeze the curd in the muslin cloth to remove any excess moisture. However, do not squeeze too hard as this will result in the paneer crumbling.

- Keep A Weight On Top of Paneer
To give shape and firmness to the paneer, keep some weight on top of it. You can keep mortar and pestle, plates or other utensils on top, depending on the resources you have in your kitchen. After 1-2 hours, you can open the muslin cloth to find soft and spongy paneer ready.


Related reading: Nutritional Facts of Paneer
Tips To Keep In Mind While Making Paneer
- Use full cream milk for making paneer. Avoid using skimmed milk as it won’t give sufficient yield.
- To make softer paneer, use lime juice, buttermilk, or whey. If you want it to have a firm and rubbery texture, use vinegar.
- Excess quantity of acidic coagulator will also make the paneer tough.
- Heat the milk to just below the boiling point and always stir while heating.
- Whey produced as a by-product can be used for kneading dough, to gravies, while making rice, curries, soups, or for your plants.
- Do not use spoilt milk for making paneer as it won’t taste as good as one made from fresh milk.
Cow Vs Buffalo Milk For Making Paneer
Compared to cow’s milk, buffalo milk is said to be ideal for making paneer. This is because buffalo milk has a higher amount of fat, casein, calcium and phosphorous. As a result, the paneer will be firmer and spongier in texture. The buffalo milk used should have at least 6% fat.
We made paneer from both cow and buffalo milk for this post. We found that the yield was equal in both cases. We obtained 60 gm of paneer from 500 ml milk. This could be probably because of the difference in moisture content between the two. However, according to studies, cow milk yields 17-18% paneer while buffalo milk yields 21-23% paneer.
In terms of texture, we found Buffalo paneer to be a bit rubbery, while cow paneer was soft like butter. When frying and making curries, paneer from Buffalo milk is more likely to hold structure and the one from cow milk is likely to crumble. Colour-wise, paneer from cow’s milk is yellowish, while that from buffalo is whitish.

Effect of Acidic Coagulator and Temperature On Paneer
The temperature and duration of heating milk affect the sensory, microbiological and physio-chemical properties of paneer. It also affects the yield because it denatures protein and reduces the solubility of colloidal calcium phosphate. Thus, it aids in co-precipitating the proteins and minerals along with the casein upon adding the acidic coagulator. Ideally, milk should be heated to 90 °C for 10-15 minutes. Milk boils at 95 °C. So if you do not have a cooking thermometer, simmer the milk just before it boils and stir frequently to maintain the temperature.
After simmering, the acidic coagulator should be added to the milk when it is cooled down to around 70 °C for a higher yield.
Among various acidic coagulators, lactic acid, which is a component in buttermilk provides the highest yield. This is followed by citric acid, which is found in lime juice.
Paneer Yield From 1 Litre Milk
The yield of paneer from milk is dependent on various factors like type and quality of milk, the temperature of milk at which the coagulator is added, the type of coagulator and so on. When talking about the quality of milk, it even depends on climate conditions as milk has higher fat and protein content in winter compared to summer; the type of feed the cow or buffalo consumes and so on.
Typically, when making paneer at home, you get around 60-70 gm of paneer per 500 ml of milk.
When you compare the economics, you find that 1 litre of full cream milk costs about Rs. 70, while buffalo milk costs about Rs.90. So, 200 gm of homemade paneer costs about Rs. 107 to 140. On the other hand, 200 gm of store-bought paneer costs just Rs. 80 to 115. But, when comparing the taste and texture, homemade paneer fares far better.